QuaverEd supports Clever Single Sign-On (SSO) access via Oauth2 to our resources.
We support many automated rostering methods that can be paired with Clever SSO to achieve SSO and automated rostering functionality.
Otherwise, teachers can use student self-enrollment with class code with Clever SSO to manually manage their rosters in Quaver.

Clever Single Sign-On Setup
This section is directed toward IT administrators looking to set up Clever Single Sign-On (SSO) access to QuaverEd resources for their district.
Step 1: Request QuaverEd app in Clever
Log into your District Admin account for Clever, search for the QuaverEd app, and submit a connection request. Refer to Clever’s instructions for more details on this workflow.

Step 2: QuaverEd approves the request
Once you’ve submitted the connection request in Clever, our integration team will complete some setup steps in our system and then approve your request. You will be notified of our approval.
Step 3: Testing
We advise that you perform your tests whenever possible to confirm functionality. If you have access to a Clever account, please try to sign in and ensure that the integration works as you expected.
Note: The first-time users log into QuaverEd via Clever; they will have to go through a one-time account provisioning step. This process will also allow users who have used QuaverEd previously to link their existing QuaverEd account with their Clever SSO account. Learn more about QuaverEd’s SSO account provisioning process in the next section.
Step 4: Release
When you are ready to launch the application (officially add it to your users’ Clever dashboards), you may activate the QuaverEd app from your Clever admin panel.
How to Access QuaverEd using Clever
This section is directed toward teachers and students in districts with Clever SSO integrations with QuaverEd. Your district IT administrator must set up a Clever SSO integration with QuaverEd, following the instructions above.
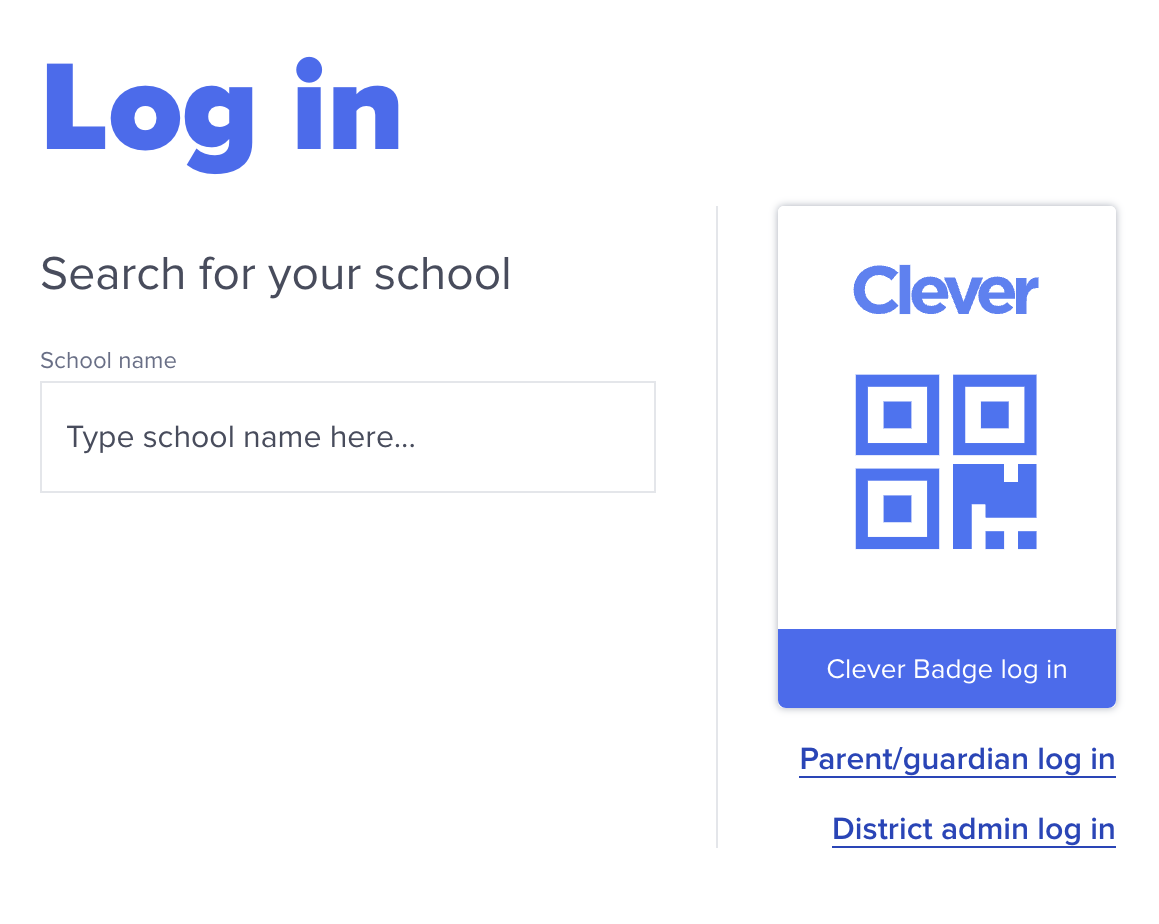
1. Sign in to your district Clever account. This is often linked from your district’s website. Alternatively, you can visit clever.com and search for your school to find your Clever portal. (If you are not sure how to access Clever, contact your friendly district IT specialist).

2. On your Clever app dashboard, select the QuaverEd app icon. You may need to look under More Apps. If you are accessing QuaverEd by any method other than clicking the app, your integration may not function as expected.

3. This page is essential! If this is your first time logging into QuaverEd from Clever, you’ll likely see our Single Sign-On account provisioning page.
If we find an existing QuaverEd account associated with your email address, you will see the message seen to the right.
To link to the suggested QuaverEd account, click Yes, that’s my account, and skip to Step 6. If you’d like to connect a different QuaverEd account, click No, that’s not me, and continue to Step 4.
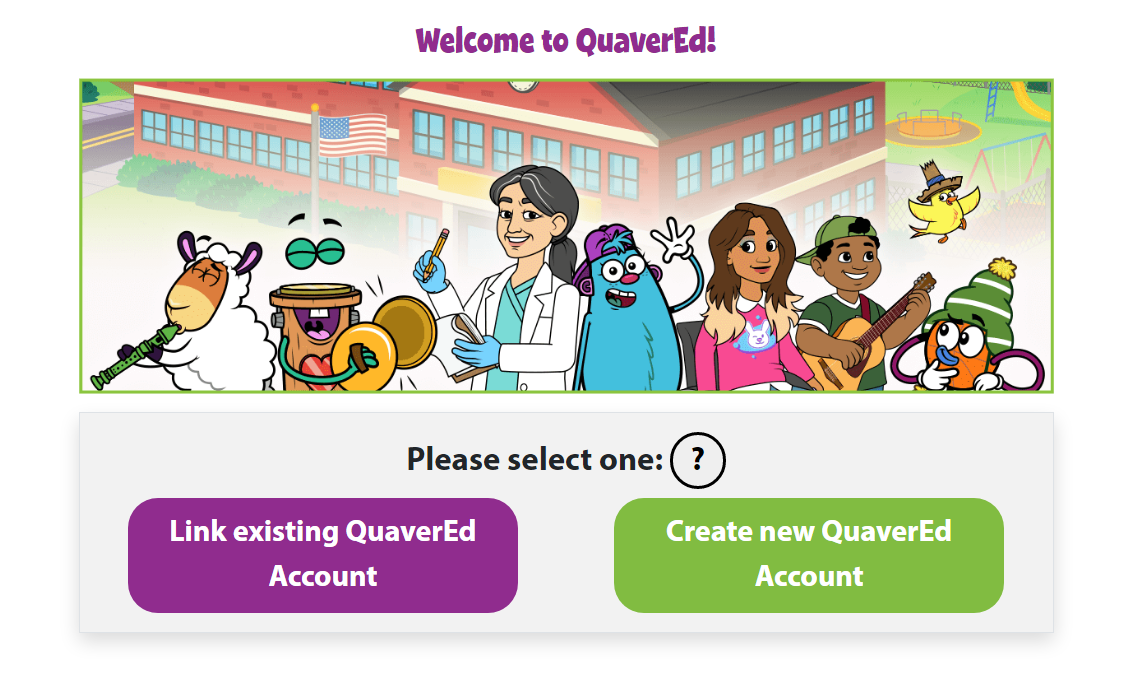
4. If you have created a QuaverEd account before, select Link existing QuaverEd Account. This will allow you to link your Clever account to your existing QuaverEd account.
If you do not have a QuaverEd account, select Create new QuaverEd Account.

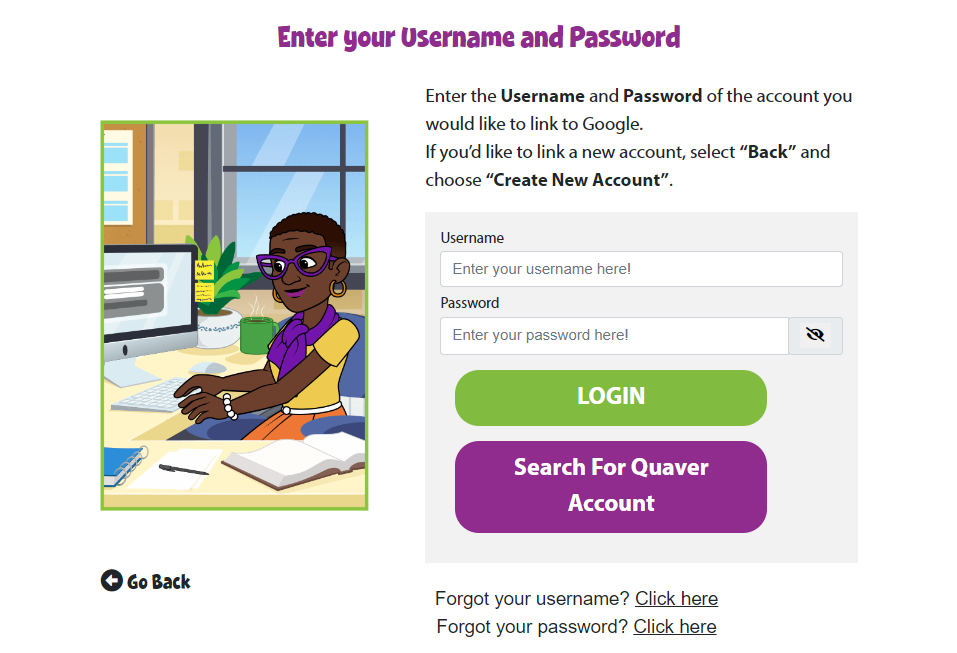
5. Enter your QuaverName and password and select Submit to link your Clever account to your pre-existing QuaverEd account.
Remember, this is asking you to identify a QuaverEd account you have already created in the past. You should not enter your Clever account credentials or other district credentials here. If you have never made a QuaverEd account, select Go Back and select Create new QuaverEd Account in step 4.

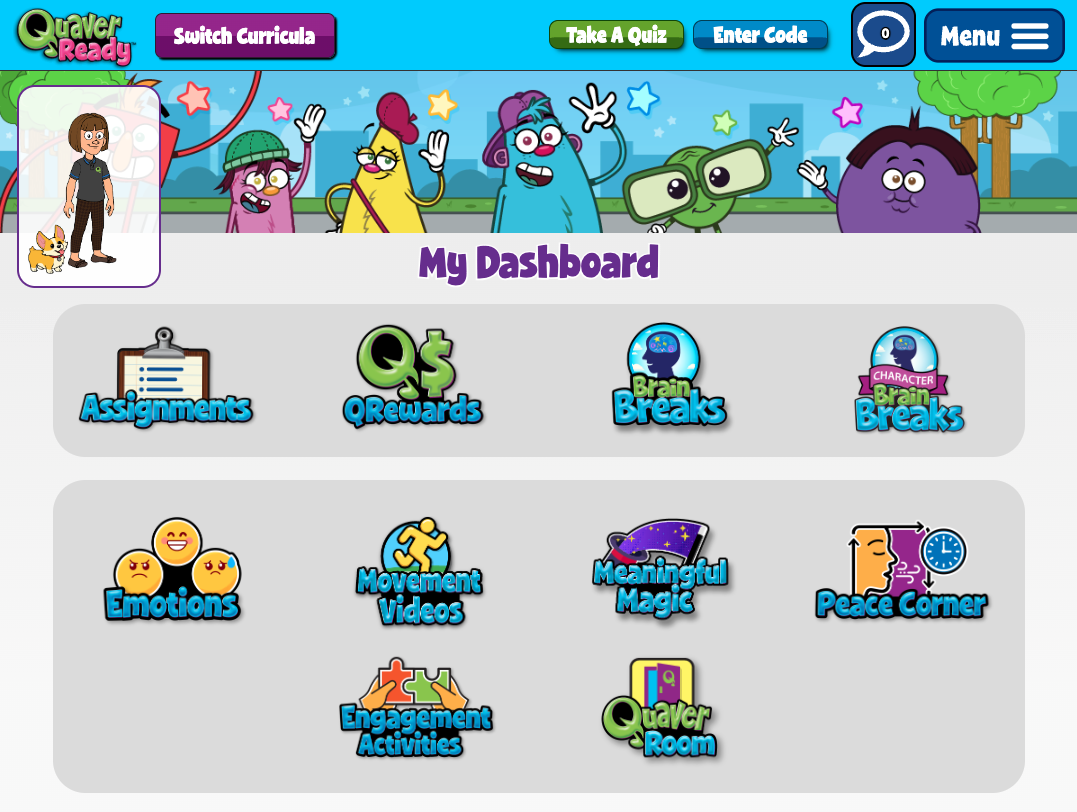
6. Depending on the type of account you’re using, you will land at one of the following places…
Teacher Dashboard

If your Clever account is linked to an active QuaverEd teacher account, you will land here.
Student Dashboard

You will land here if your Clever account is linked to an active student account enrolled in a QuaverEd class.